

Christmas is fast approaching and it’s
the time of the year when we start decorating our homes with Christmas decorations.
If you are still thinking of what theme you will display this year, you
might want to consider doing this do-it-yourself tissue roll reindeer ornament.
I like doing art activities; it’s therapy
for me. Doing art activities, especially with your kid is a fun thing to do too.
It will also save you money because you
are using sustainable materials. So without further a due here are the
materials you need.

Material
Tissue roll cardboard
Craft paper (red, yellow, white, and brown)
Writing pens (pencil, brown marker, and
black marker)
Scissor
Glue or tape
Stapler
Brown craft thread
Layout
 |
| Free Layout |
Instructions
Step 1: Print the free layout. This will
be your guide for tracing on board paper. 180-200 gsm will do. You can also use
this layout as your instant material for this activity.
Step 2: Cut the paper after tracing the
layout starting with the red collar, bell, nose, eyes, ears, and horns.

Step 3: Get your black marker and start
sketching the bells, and eyes.
Step 4: Get your brown market and start
painting the horns.

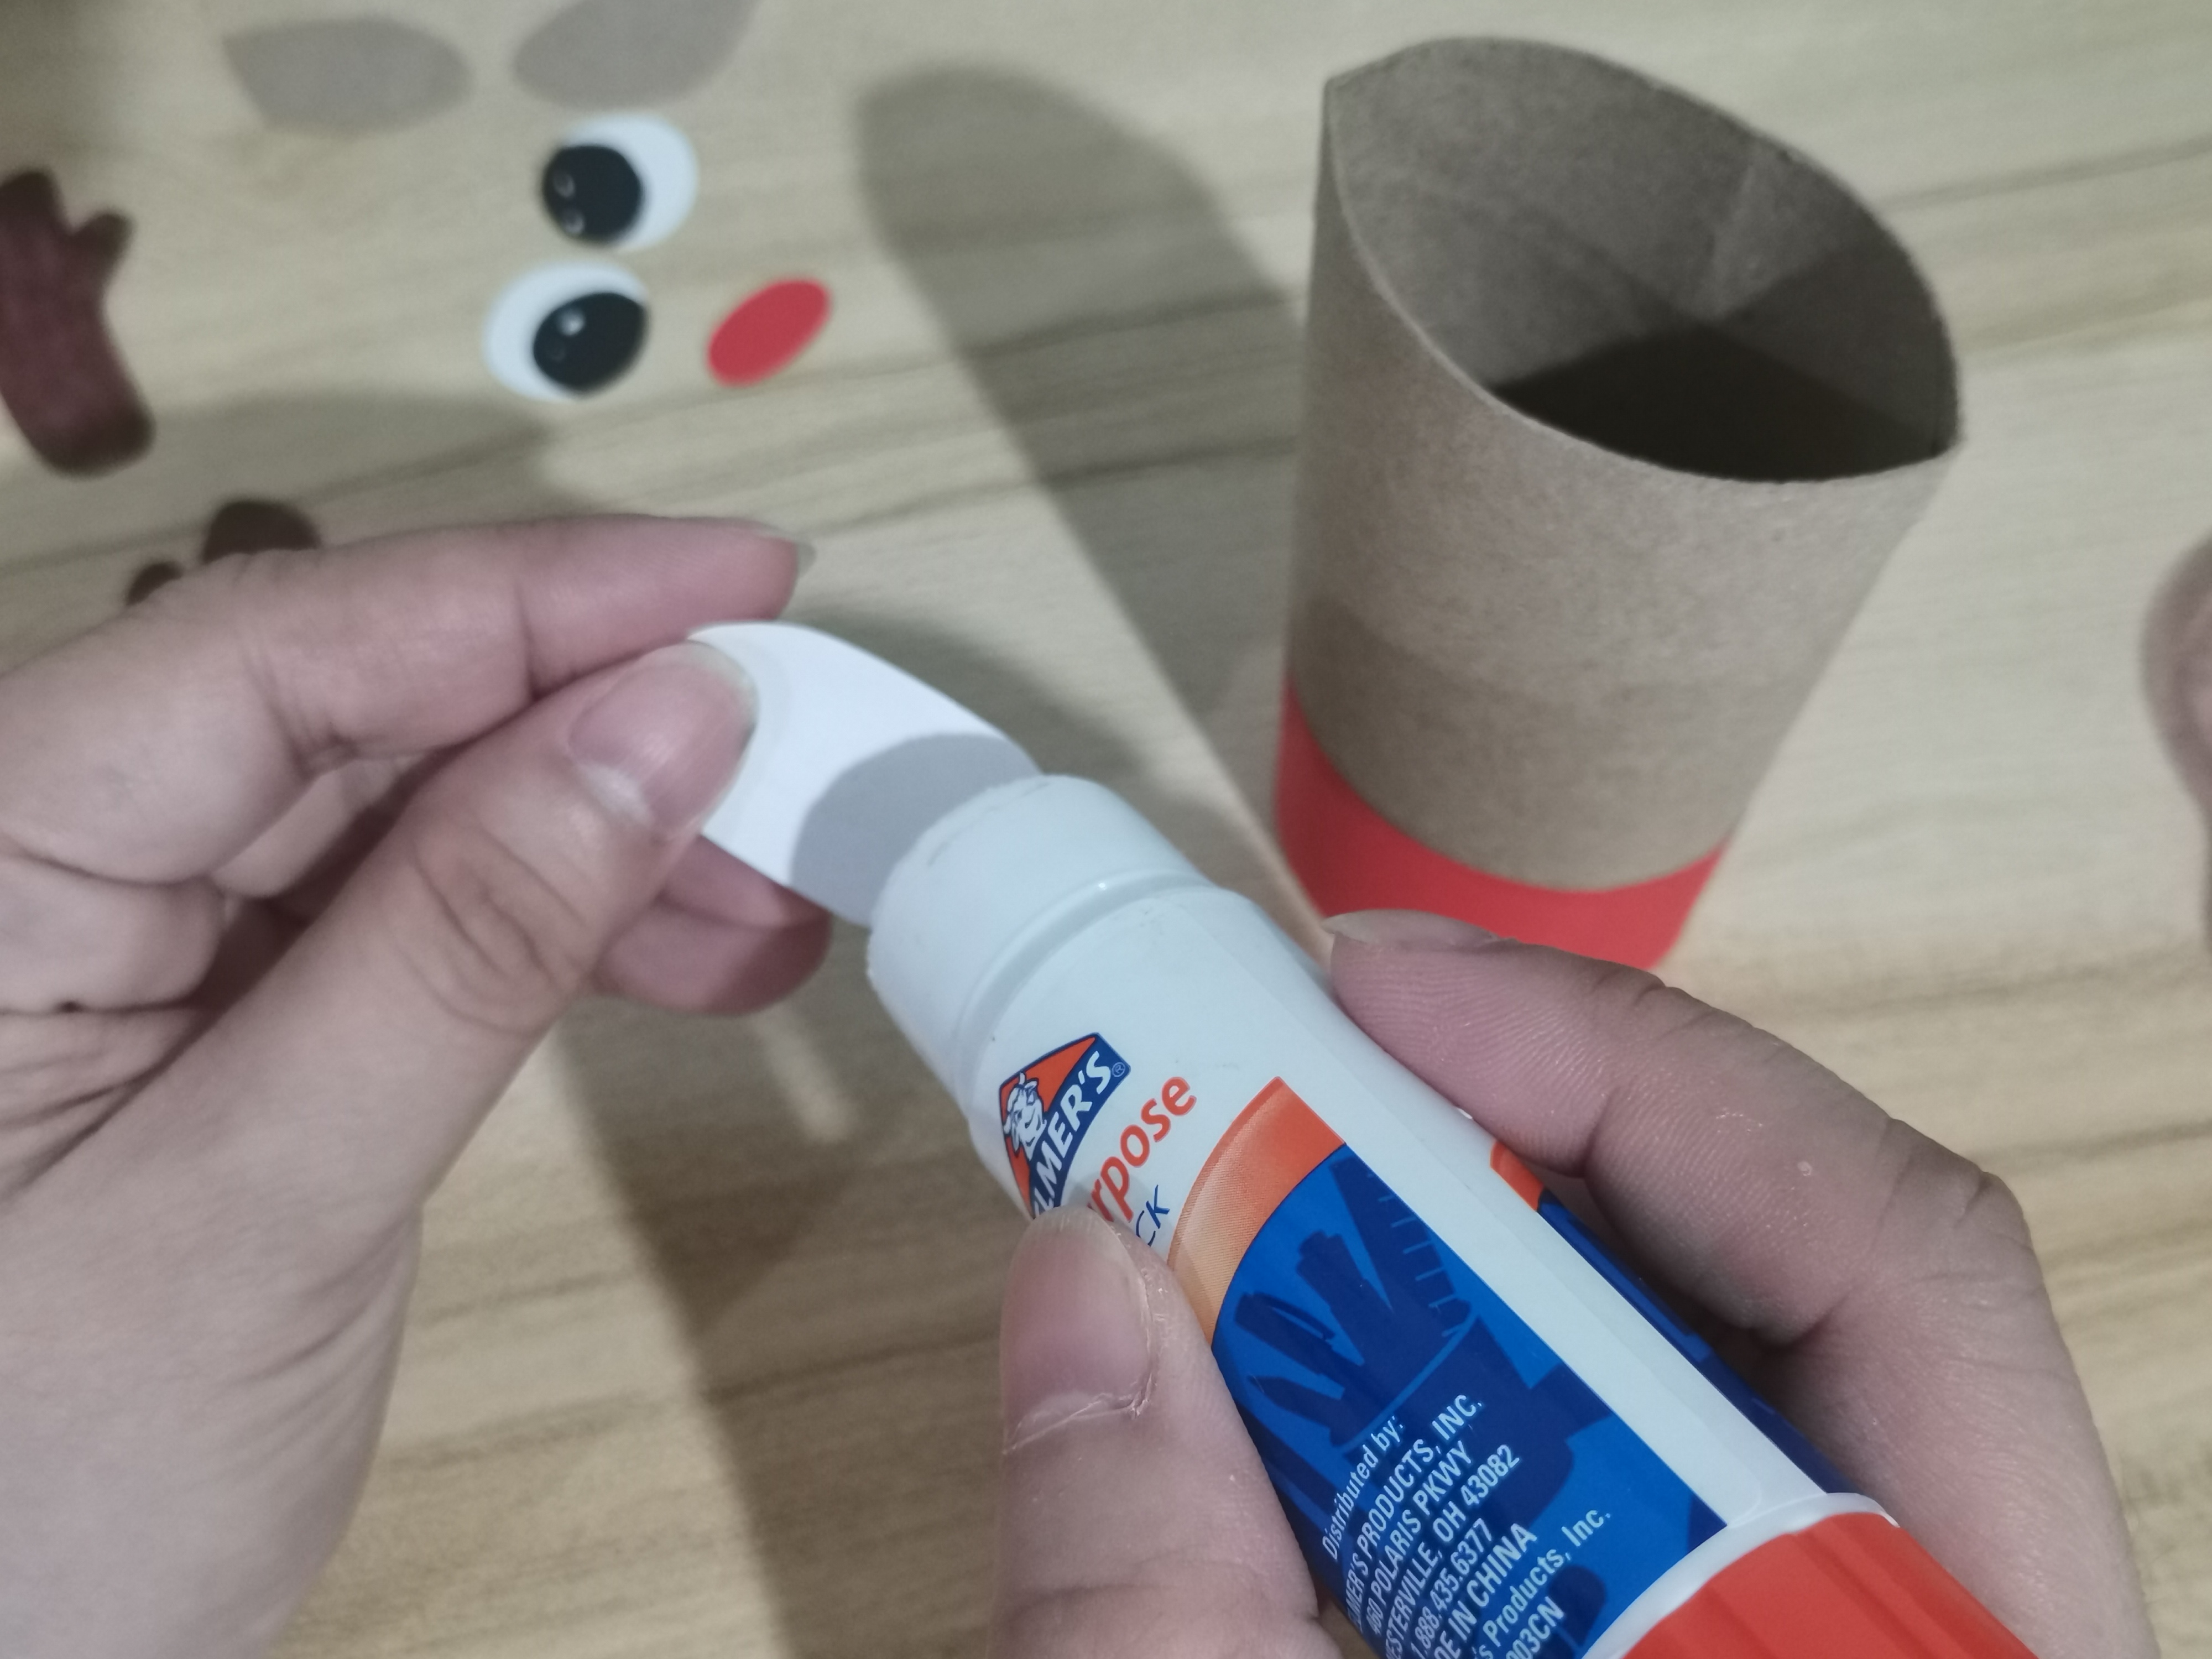
Step 5: Get the tape or glue and start
assembling the Reindeer.


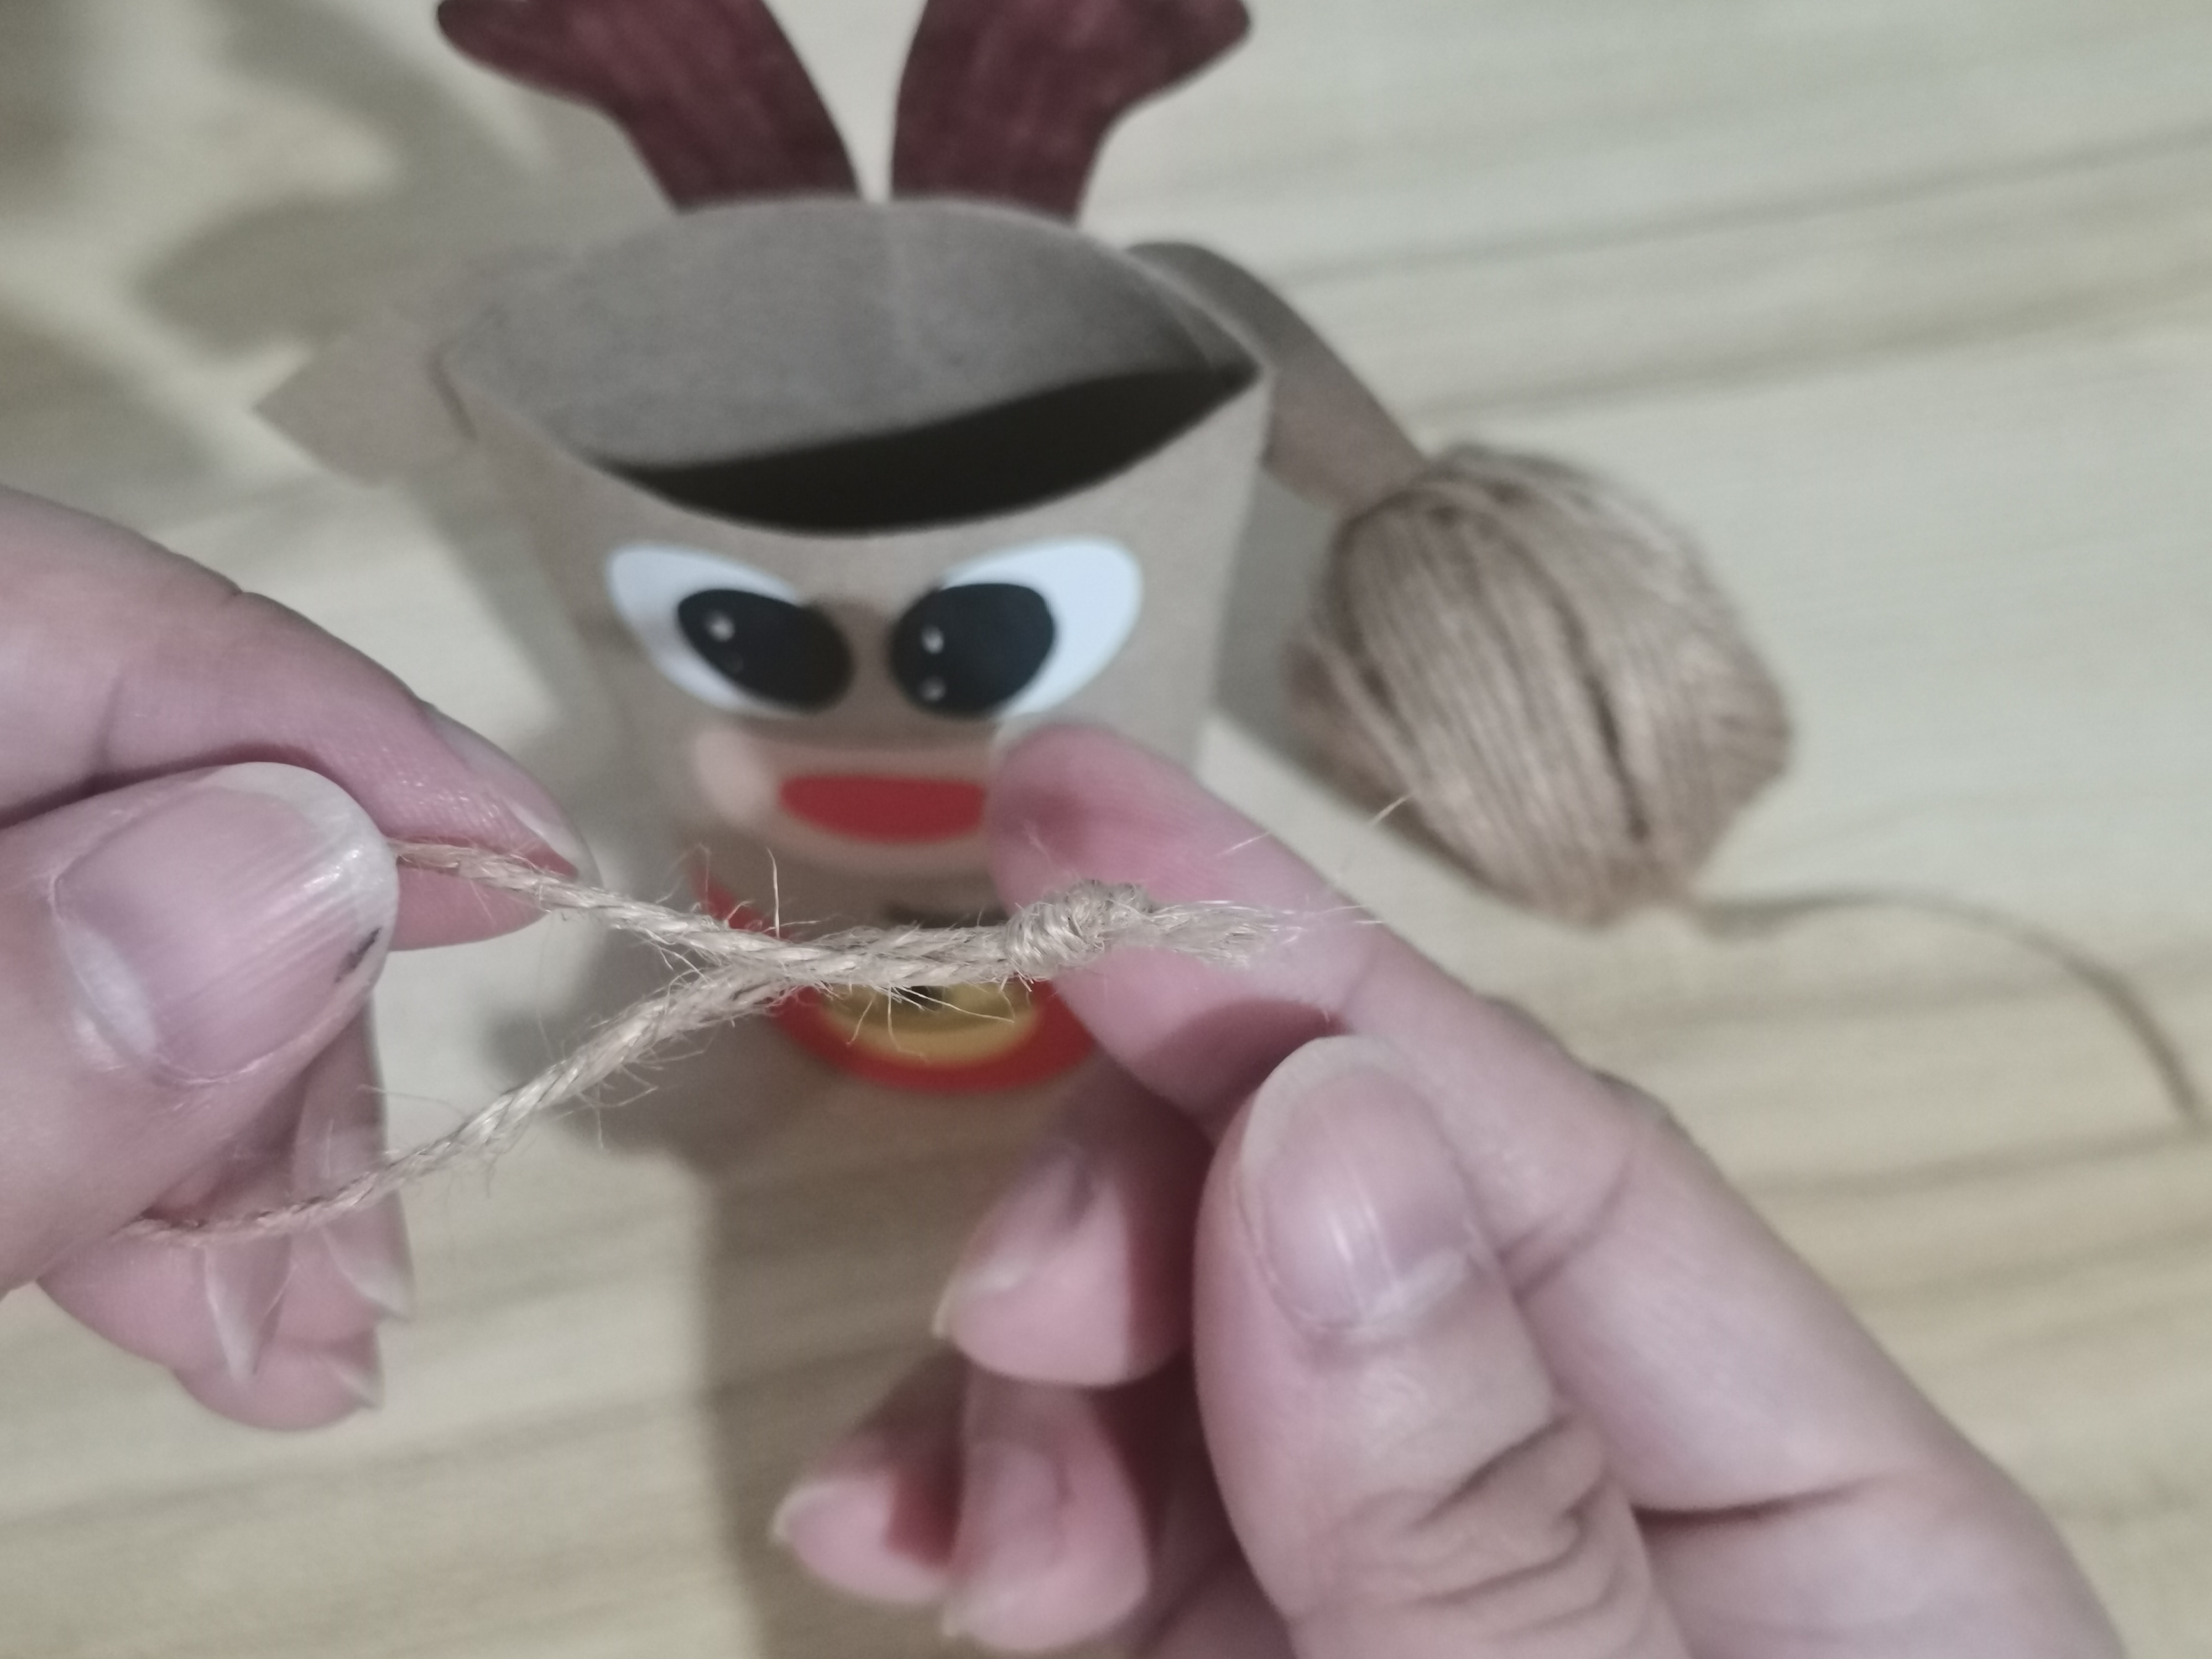
Step 6: Get the brown craft thread, and cut at
least 3-4 inches. Tie on both ends. Use a stapler and attach it to the back of
the Reindeer in between the horns.


Step 7: Get the black market and draw a Reindeer mouth.


And there you have it. You now have a
Tissue Roll Reindeer Ornament.
I hope this
simple activity makes you and your kids happy.
Advance Merry Christmas, everybody!
Let's be friends and connect with me on Facebook | Twitter | Instagram | YouTube | Pinterest
 Olivia is a 40ish Mom who likes to share stories about her life, outfits she wears, products she loves, and food she eats. She enjoys DIY crafts. She believes in the saying "Never stop learning" which is why she likes discovering new things and enjoying life.


0 comments:
Post a Comment